As promised, here are a few more pictures of this month's Scrapbook Club project. A big thank you to the ladies who joined me this morning to have a go at the project.. I can't wait to see your finished books.. next month ok? :o)
So here's my cover:
My colour scheme is Melon Mambo, Tempting Turquoise, Daffodil Delight and Old Olive. All the patterned papers are from the
Brights Designer Series Paper (DSP) Pack and the
Newsprint DSP pack.
The 'g' is a chipboard letter, inked and coated in
Crystal Effects to make it shiny. The other letters (and numbers) were die-cut on my Cuttlebug. The tiny butterflies are from the
'So Happy For You' (Sale-a-bration) set.
First two pages:
{Eek! Wish I'd not left a 'halo' effect round my hair.. oops!}
I've used the
Bliss (Sale-a-bration) set to stamp the background.
Thought I'd try doodling my title letters and the speech bubble (being more adventurous already, see? lol).
Second two pages (I showed you the pair yesterday, so here they are individually):
I used 'faux stitching' around the edges of the dotty paper - used the paper piercing template from the
Mat Pack to pierce holes all the way round, then joined them up with a black journaling pen.. simple!
The bunting was made using a stamp from
'Party This Way', strung together with
Linen Thread.
Third pair of pages:
The background was stamped with
'Sweet Summer' (another Sale-a-bration set). I doodled the scalloped boxes straight on to the DSP, then cut them in half and flipped one side round to show the other pattern (the papers are all double-sided). I used the Paper Piercing Template to help me sew the pieces together.
Fourth pair of pages:
The background was stamped with
'Just Believe' stamps.
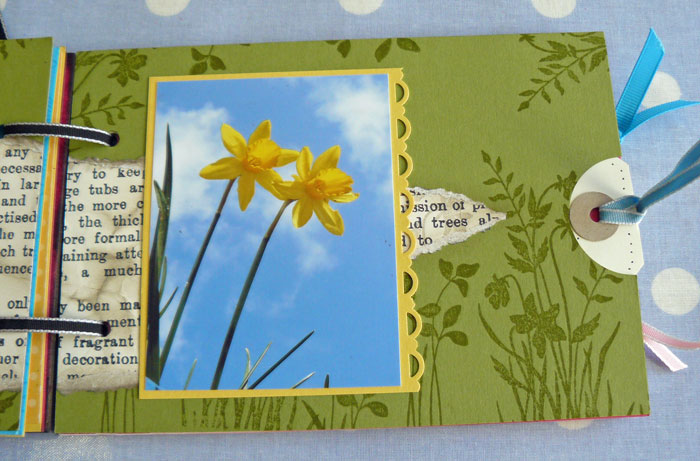
And finally..(phew, nearly there) the fifth pair of pages:
Here, I made a pocket from DSP, folded over and punched with the Scallop Trim Border punch, for my tags. The colourful strips at the top of these pages were sliced from the cover of a Dulux paint catalogue.. appropriate to the theme, I thought!
Pages were stuck together back-to-back on three sides to form pockets for my tags. I used a circle punch to cut the semi-circles to allow easy removal of the tags. The numbers on each page were cut from a sheet of
Newsprint DSP.
I hope you liked my project! Saturday ladies.. now you know what you have in store! ;o)
If you have any questions, please don't hesitate to ask in the Comments box (by the way,
anyone should be able to comment now.. I've changed the settings!).
Thanks for visiting,
Sarah x